Last updated on April 29th, 2025 at 05:27 pm

Building a DIY home cockpit on a budget can be a rewarding project that mixes creativity with practical skills. It is a chance to create a personal space for flight simulation that is both immersive and cost-effective. Whether you are a flight simulation enthusiast or someone looking for an innovative home office upgrade, a DIY cockpit may offer a fun and hands-on experience.
Set a Realistic Budget First
Before beginning any project, it is important to decide on a realistic budget. Knowing how much you are willing to spend can help narrow down the list of essential items. Even with a budget of $300 to $500, you can assemble a beginner setup that offers genuine immersion without overspending. This planning step helps in managing costs effectively and ensuring that every purchase is made with a clear purpose in mind.
Once your budget is defined, it becomes easier to focus on what truly matters. Instead of feeling tempted to chase every add-on, you can prioritize the essentials: your main controls, display, and basic materials. This keeps your build practical and purpose-driven — not cluttered with extras you might not even use.
Start Simple
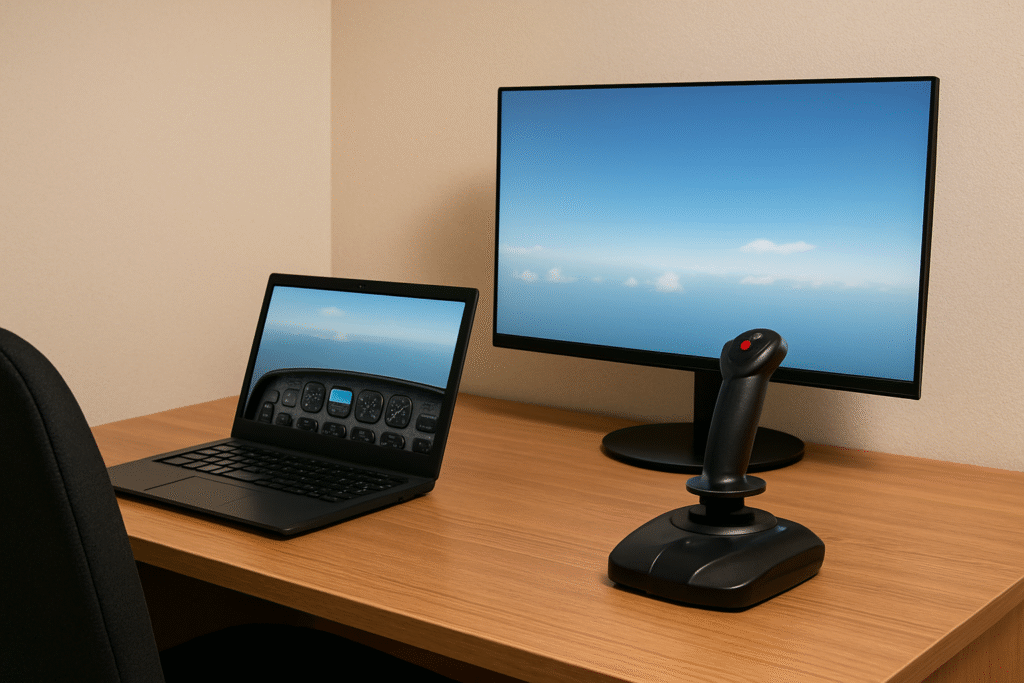
You can always upgrade later. Jumping into an all-in-one setup can be overwhelming and expensive, so starting with a basic configuration is a smart move. Begin with the necessities such as a joystick or yoke, a monitor, and a comfort-focused chair. These fundamentals lay the groundwork for an enjoyable simulation experience. If you’re new, this getting started with flight simulation guide can walk you through the early steps in more detail.
From my own experience, starting with just a joystick and a laptop made flying noticeably more enjoyable. The added control and responsiveness made even basic takeoffs and landings feel more immersive. I realized you don’t need a full cockpit to enjoy the simulator — just a few well-chosen pieces of gear can make a big difference. If I ever decide to upgrade, I’d likely go for a yoke, rudder pedals, and maybe a larger monitor — nothing too complex, just enough to enhance the realism even more.
You might decide later to add extra features like additional instrument panels, rudder pedals, or even a more advanced control board. The idea is to build a foundation that you can gradually upgrade as your skills develop and as you identify which features give a boost to your simulation. Establishing a simple, scalable base also helps in keeping the project enjoyable rather than stressful.
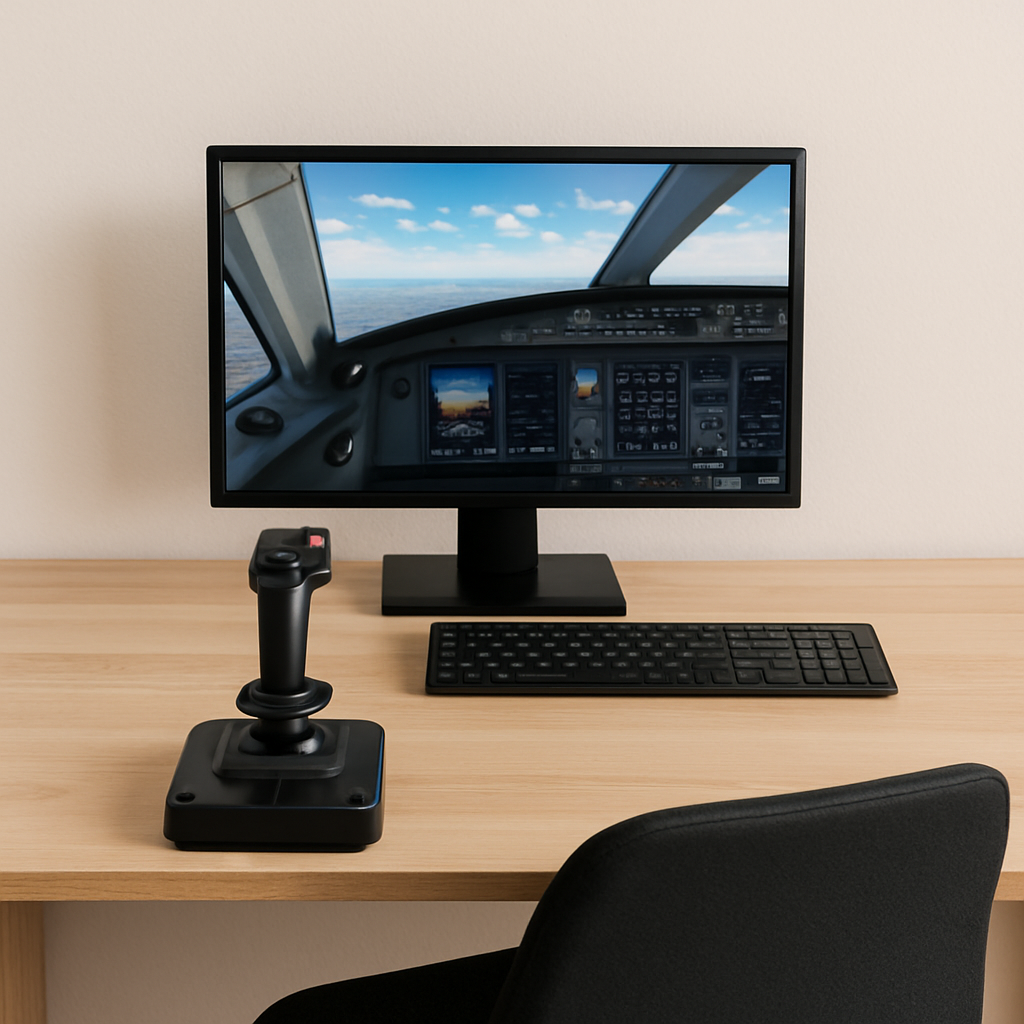
Use a Single Monitor Setup (at First)
**Please note: This post contains affiliate link. As an Amazon Associate, I earn from qualifying purchases at no extra cost to you.
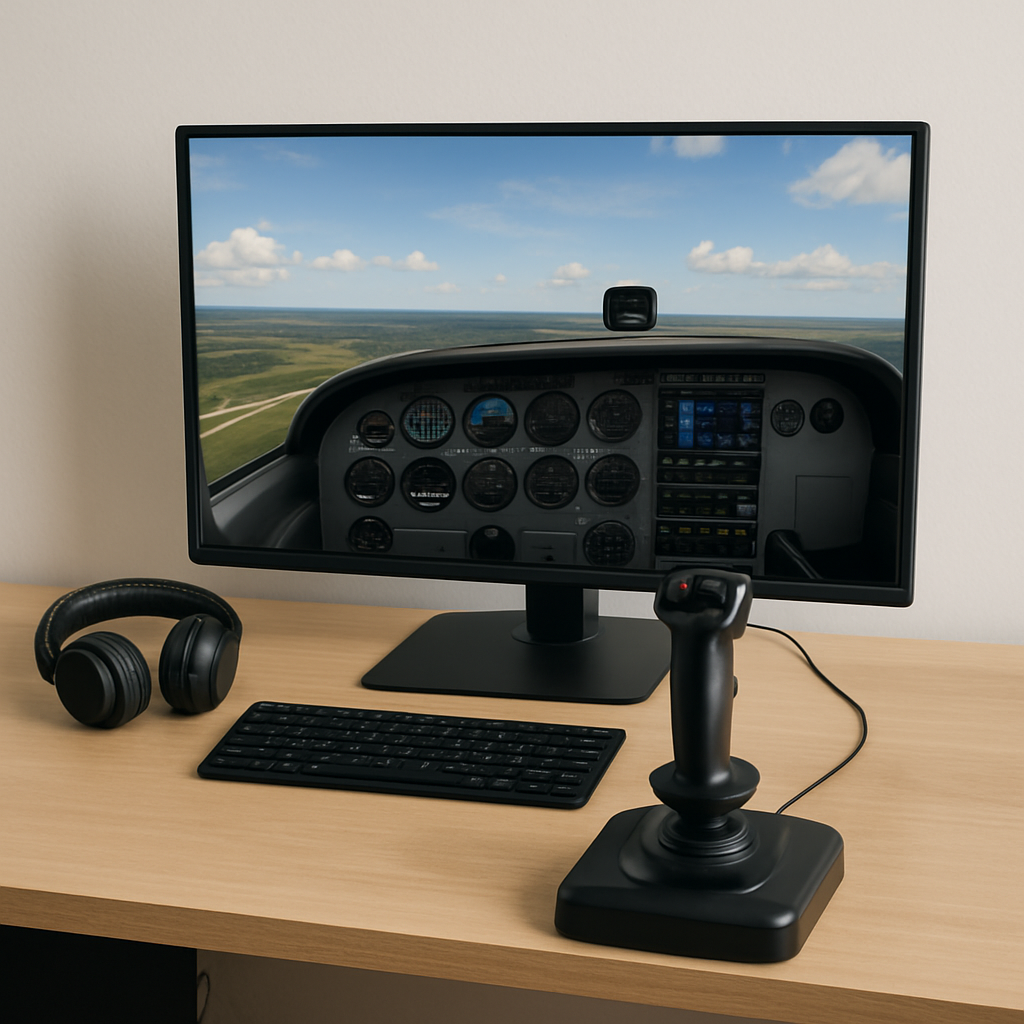
Starting with a single monitor is a smart and budget-friendly choice. While multi-screen setups look impressive, they can quickly increase costs. A solid 27- to 32-inch monitor with good resolution gives you plenty of visibility and immersion to get started — no need to overcomplicate things in the early stages. A monitor like the ASUS VA27DQ 27″ Full HD IPS Monitor offers excellent clarity and responsiveness, making it a great choice for immersive flight simulation without breaking the bank.
This initial setup allows you to concentrate on the core elements of flight simulation before deciding on the value of additional displays. Once your skills and interest grow, you can always expand to multi-screen configurations to deepen your sense of immersion. A single monitor approach helps maintain focus on mastering the controls and practices without being distracted by extra hardware.
Prioritize Essential Flight Controls
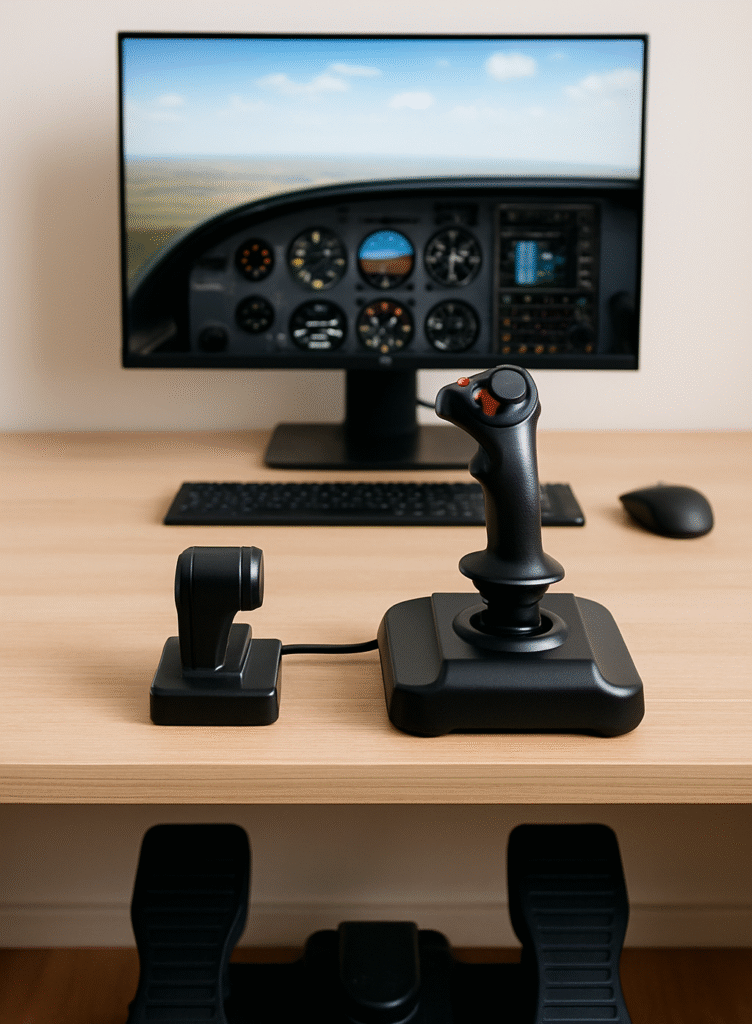
The cockpit’s controls are the heart of any flight simulation experience. Investing in a robust joystick or yoke should be a priority because they most directly influence how realistically your simulation performs. It is not necessary to replicate every element of a real cockpit all at once. Start with the controls that have the highest impact on your experience. Check out our roundup of the best joysticks for flight simulation if you’re choosing your first control.
If your budget allows, consider adding rudder pedals later on. However, a quality joystick or yoke paired with responsive buttons can significantly improve your flight simulation. When choosing your controls, focus on smooth operation and precision, as these are central to simulating the feel of controlling an actual airplane. Even a modest setup can offer a very realistic and engaging experience when the primary controls work well. Here’s a guide on selecting the right rudder pedals if you’re considering adding them to your setup
DIY or Repurpose Furniture
You don’t need to spend big on custom gaming furniture to build a convincing cockpit. Many sim enthusiasts successfully repurpose old desks, shelves, or office chairs to create a functional setup. Reusing what you already have is not only cost-effective — it adds a personal, creative touch to your build.
You can often take a well-built desk and modify it to mount your controls securely. An old office chair can be adjusted to improve comfort and add an element of authenticity. By reusing what you already have or acquiring inexpensive second-hand items, you turn a potential cost sink into a creative challenge. This method not only saves money but also lends your cockpit a personalized touch that off-the-shelf products often lack.
Buy Second-Hand or Refurbished Equipment
The market for flight simulation equipment can be competitive, and purchasing brand new items is not always necessary. Often, second-hand and refurbished equipment can be found in excellent condition. Marketplaces like eBay, Facebook Marketplace or local classified ads frequently offer quality gear at substantially reduced prices. Explore flight simulation gear on eBay.
Trusted brands, known for their durability, often have a strong presence in the second-hand market. By focusing on the core elements needed for your cockpit—like a control stick, panels and mounting accessories—you can conserve resources while still benefiting from high-quality simulation hardware. This strategy requires a bit of extra research, but it can be very rewarding when you find a few exceptional deals.
Build Your Own Instrument Panels (Optional)

If you are up for a project that requires a bit of creativity and tool use, consider building your own instrument panels. Simple panels can be constructed using basic materials such as plywood or even cardboard. Some hobbyists have experimented with 3D printing small components that mimic advanced instruments, offering a bespoke look to their cockpit. Discover 3D printable flight simulator controls on Thingiverse.
You do not have to opt for expensive, ready-made panels, especially if you are still learning which features give a boost to your simulation experience. Creating your own panels means you can customize the layout and functions to suit your exact preferences. For those who enjoy a hands-on approach, this can become a fun and flexible project that adds a unique flavor to your cockpit experience.
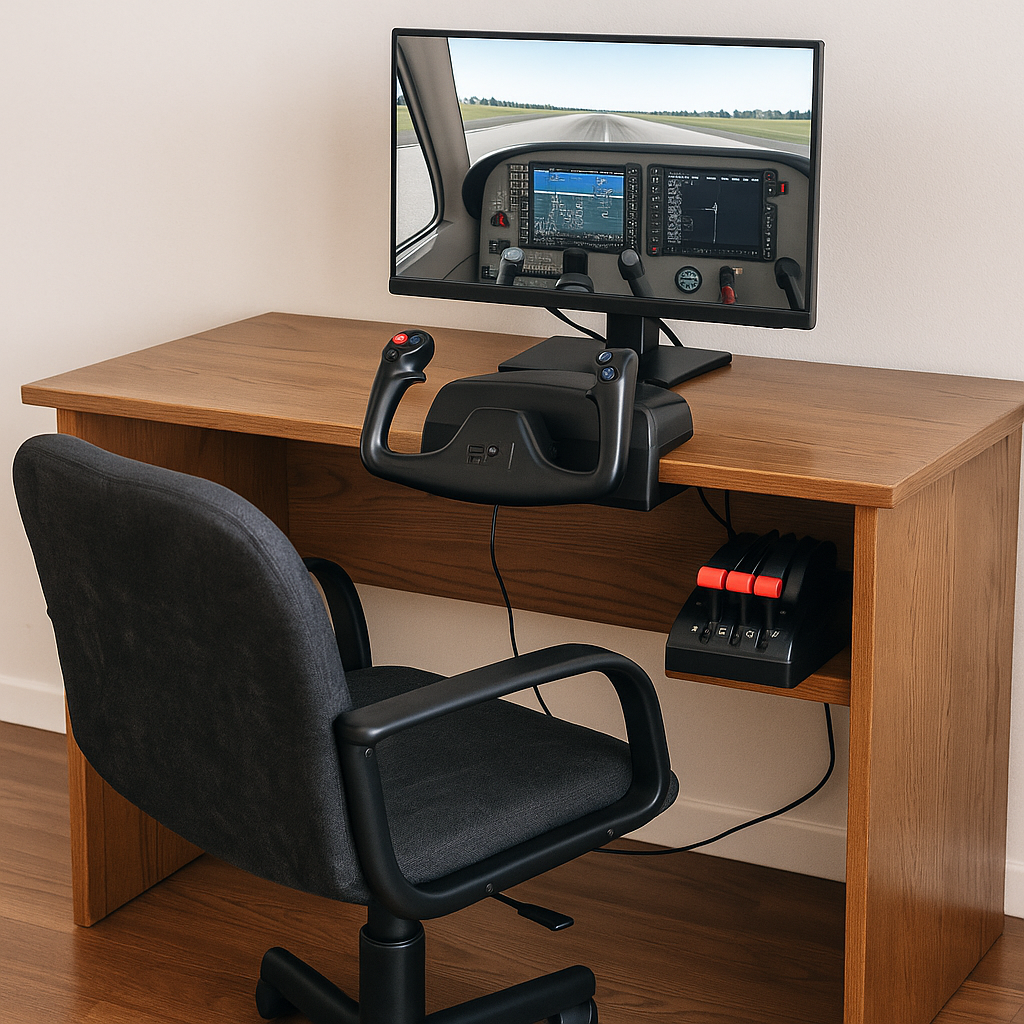
Use Modular Mounting Solutions
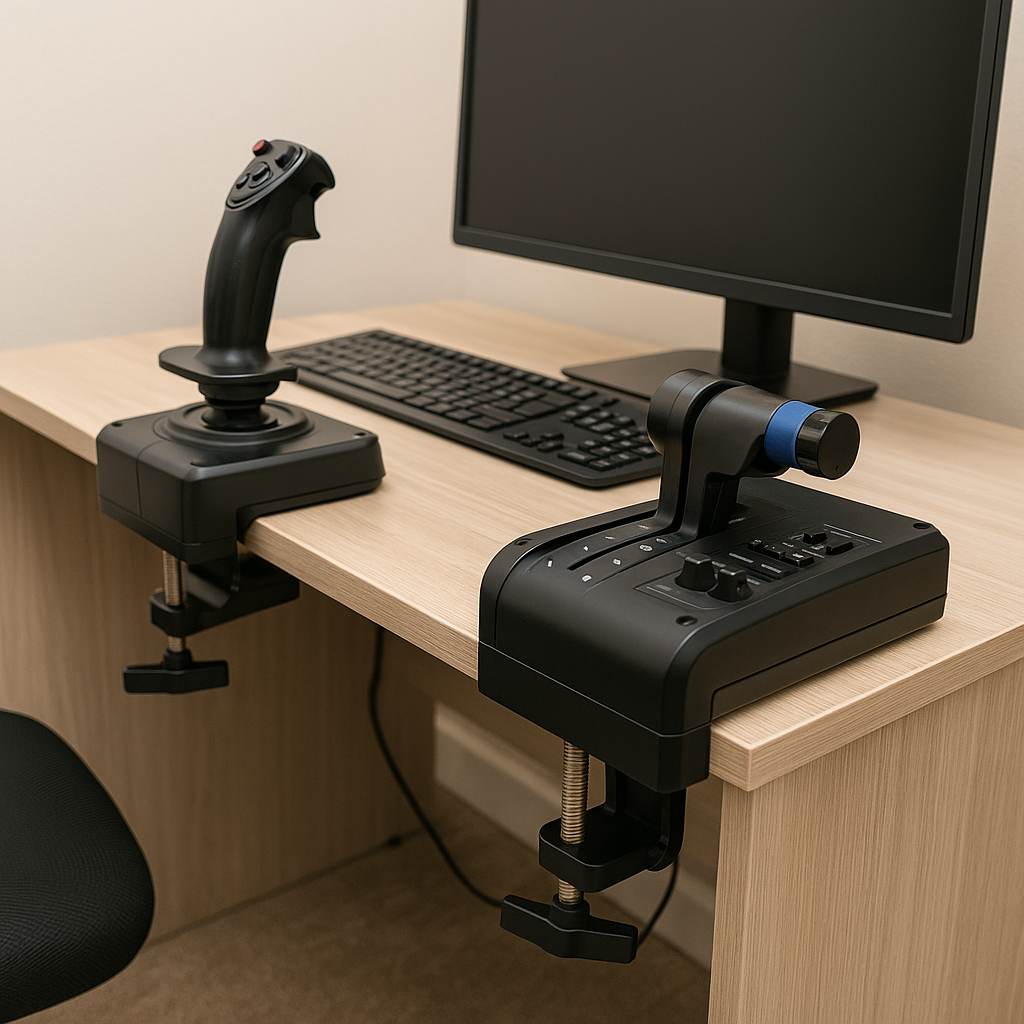
Instead of constructing a complete fixed frame, consider investing in modular mounting solutions that allow you to secure your controls to a desk or shelf. These solutions, such as clamps or adjustable mounts, help in achieving stability without the need for a fully built cockpit frame. Consider using the 2 Set Desk Mount for Flight Sim Game Joystick and Throttle to securely attach your joystick or throttle to your desk, providing a stable and adjustable setup that enhances your simulation experience.
Modular mounts offer the flexibility to expand your setup gradually. They are space-saving and allow for repositioning as needed. By using these kinds of solutions, you can stick to a streamlined setup that can adapt to various desk sizes or room arrangements. This approach makes it easier to install, remove or transport your simulation gear while keeping everything firmly in place during use.
Optimize the Seating Position
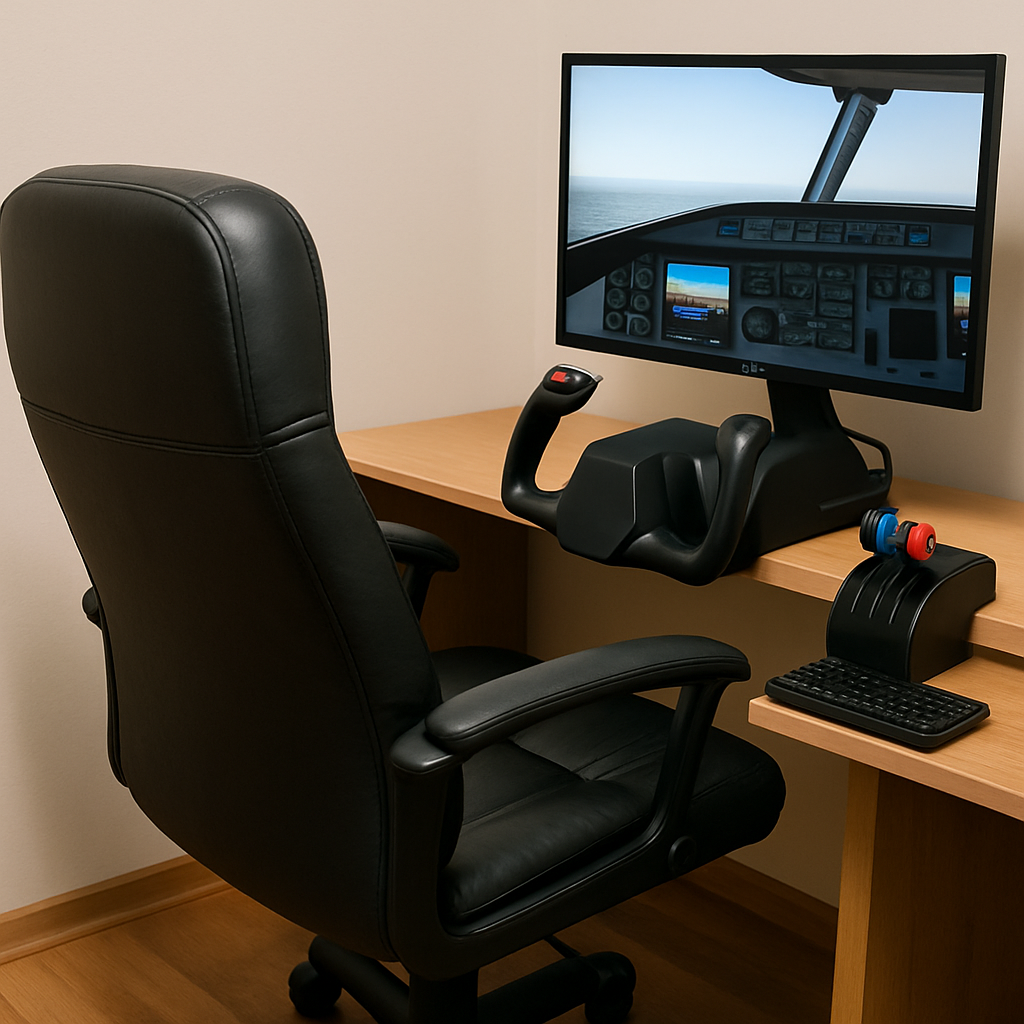
Your seating position matters just as much as your gear. A well-aligned chair, placed at the right height and angle, can make the whole experience feel more realistic and reduce fatigue over longer sessions. Comfort isn’t just a luxury — it’s part of building an immersive, practical cockpit.
If you have an old car seat or a racing simulator seat lying around, these can be excellent candidates for a cockpit seat. Even modifying an office chair can add to the realism. Ensuring that your eyes naturally align with the display and that you have enough room to move is key. Simple adjustments such as repositioning your chair or adding cushions can considerably improve comfort and mimic a real cockpit environment. For a more authentic experience, the Playseat Challenge Sim Racing Seat provides comfort and realism, enhancing your immersion during long simulation sessions.
Software and Settings Are Just as Important
A well-built cockpit setup is only part of the equation. The software you use for flight simulation can really step up the realism of your experience. Your computer does not have to be the most powerful machine on the market if you map out the simulator settings correctly. Not sure what to use? Here’s a breakdown of essential simulation tools and software for novice pilots
Tweaking the graphics settings of your simulation software and using realistic weather conditions can add to the immersion. Adjusting parameters like Field of View and zoom helps replicate a true cockpit experience. Experimenting with configuration options may lead you to track down visual tweaks that make your setup feel even more authentic, all while staying within the limitations of your current hardware. Optimize your Microsoft Flight Simulator settings.
Frequently Asked Questions
This section addresses common questions that may arise as you build your DIY home cockpit.
Question: What is the best starting point for a DIY home cockpit?
Answer: Begin by setting a realistic budget and choosing the essential controls like a joystick or yoke and a comfortable seat. Keeping it simple allows you room to add more features later.
Question: Is it necessary to invest in multiple monitors?
Answer: Early on, a single monitor setup is entirely sufficient. Once you are comfortable with the simulation, adding more monitors can give a boost to the experience if your budget permits.
Question: How can I save money on building my cockpit?
Answer: Consider repurposing furniture and looking for second-hand or refurbished equipment. DIY solutions for instrument panels and modular mounts can also keep costs low while still providing an effective setup.
Question: What are some simple upgrades I can work on later?
Answer: As your skills and budget grow, you may add rudder pedals, multi-screen setups and even advanced instrument panels built from scratch or using 3D printing technology.
Question: How important is seating in a home cockpit?
Answer: Very important. An optimal seating position not only boosts comfort but also ensures that you have a realistic perspective when engaging with the simulation.
Advanced Tips and Tricks
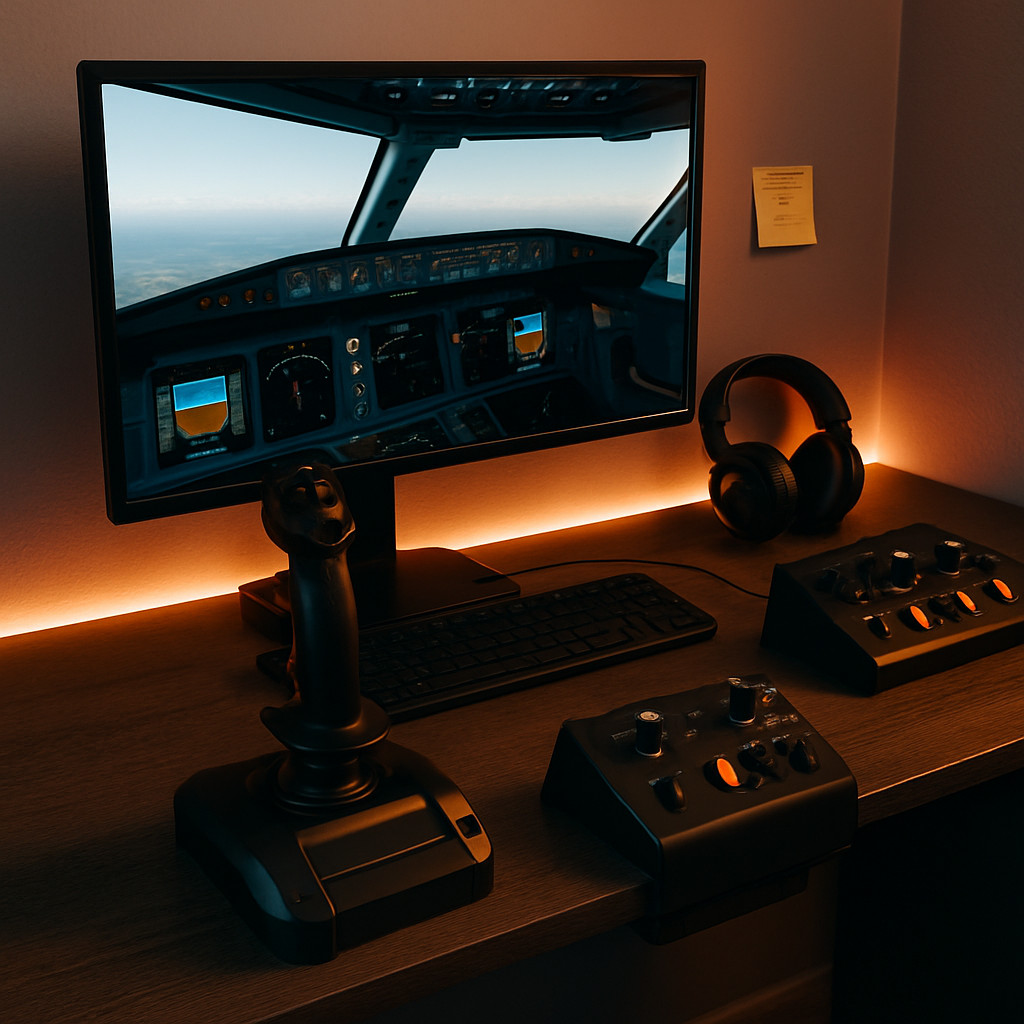
Once you have established the basics of your DIY home cockpit, there are a few advanced tips that might step up your experience further. Experimenting with the layout and adding minor tweaks can result in a setup that feels uniquely tailored to your simulation needs.
One idea is to incorporate ambient lighting into your space. Even subtle LED strips placed behind the monitor or around the control panel can create an atmosphere similar to what you might find in a professional cockpit. Adjusting these lights based on the simulation mode can also help set the mood. Enhance your cockpit ambiance with the Govee RGBIC LED Strip Lights 16.4ft, Smart WiFi LED Lights, which offer customizable lighting effects and music synchronization to elevate your simulation environment.
Another tip involves sound management. Using a dedicated speaker system or even quality headphones can add a layer of realism by delivering crisp, spatial audio. This, combined with physical feedback from your controls, ties the whole experience together in a very satisfying way.
It is also a good idea to keep a log of your configuration changes and upgrades. Tracking what works and what might need adjustment allows you to understand your setup better and adapt over time. This record can prove handy if you decide to sell some items or share tips with fellow enthusiasts.
The Basics: Essential Focus for Beginners
The primary focus for someone starting out is to ensure that the most vital elements are in place. This means choosing quality components that work well together rather than trying to simulate the entire cockpit experience immediately. A functional setup that is expandable tends to be more beneficial in the long run than one that is overly complicated. It also helps you avoid mistakes many new users make when setting up their first cockpit.
Experience shows that simulation enthusiasts should initially concentrate on the control interface and view. A stable, responsive joystick or yoke paired with a well-calibrated monitor provides immediate feedback that builds confidence. As you become more comfortable with the controls, you can slowly integrate features that give a boost to overall realism.
Paying attention to the software settings complements your physical setup. Matching the simulator’s field of view, instrument sensitivity and even tweaks to the lighting can make using the cockpit feel more natural. Over time, these small adjustments add up to a more integrated simulation experience that feels authentic and enjoyable.
Additional Tips for Customization and Safety
Along with focusing on the fundamental components, it is very important to consider customization and safety measures for your home cockpit. Spending some extra time planning the layout of your controls and seating can make a huge difference. For instance, arranging cables and mounting systems in an organized manner not only creates a cleaner setup but also reduces any tripping hazards. Regularly checking your equipment for wear and tear and cleaning surfaces can prolong the life of your gear while maintaining optimal performance.
Moreover, adding personal touches to your cockpit environment can make the space truly yours. Consider incorporating memorabilia, custom decals or even a personal color scheme that reflects your passion for flight simulation. Experimenting with different placements for lighting can dramatically change the mood of your setup, transforming it into a space that inspires creativity and focus. This balancing act between customization and safety helps ensure that your cockpit remains both a productive and enjoyable area over time.
It is also a good idea to periodically reassess your setup as you gain more experience. As you get used to the feel of your configuration, you might notice areas where a small adjustment could further improve safety or functionality. Whether it is repositioning a monitor or readjusting controls to suit your posture, these tweaks can make your home cockpit a continuously evolving project.
Wrapping Up
Building a DIY home cockpit on a budget is all about combining creativity with practical thinking. From budgeting and choosing essential controls to repurposing everyday items, each step is a chance to learn and shape a space that reflects your style. Even with a modest setup, you can create something truly immersive and personal.
This project reminds me that innovation doesn’t require spending a fortune. With thoughtful planning and gradual upgrades, you can create a cockpit setup that delivers a satisfying flight simulation experience. Get into the project with an experimental spirit. Before you know it, even a budget-friendly cockpit can bring a great deal of enjoyment and immersion to your home simulation adventures.